How to Retrofit Windows in 2026?
Retrofit windows in 2026, and you are changing more than the glass. You are altering how your home handles heat, drafts, rain, and sound. The right approach depends on the existing frame, wall condition, climate, and budget. A replacement that looks tidy indoors can still leave hidden gaps outside. Small details matter.
Building-science expert Joseph Lstiburek emphasizes treating building components as connected systems. A fair paraphrase of his guidance is: “Treat the window as part of the wall system.” That principle matters during window retrofits. Installers must consider flashing, drainage, air sealing, and insulation—not just the new unit’s ratings. On a cold morning, a narrow gap can send a draft across the sill. After heavy rain, poor flashing can trap water behind the trim.
This guide explains how to assess existing windows, compare retrofit methods, and choose products for your home. It covers insert replacements, full-frame installations, glazing, energy ratings, and practical installation checks. You will also see why a lower quoted price may exclude trim repairs or exterior finishing. Look closely at those details. A rating alone cannot predict comfort or workmanship. Every house differs, and some older frames may need repairs before replacement makes sense. That judgment is not always obvious from a photograph. We will point out what to measure, what to ask an installer, and where uncertainty remains, so you can plan a retrofit with realistic expectations for 2026.
Assess Existing Windows and Determine Retrofit Suitability
Assessing existing windows is the first real step in a 2026 retrofit. A new sash or insert may fit well, but only when the existing frame is sound and square. Start with the sill, jambs, and exterior trim. Look for soft wood, peeling paint, cracked joints, or dark water marks. Check the corners. Press gently with a blunt tool; wood that yields may indicate hidden decay. Open and close each sash, noting sticking, loose locks, or uneven gaps. A small flashlight can reveal daylight around the frame, while a tissue held near the edges may show air movement. Still, one draft does not tell the whole story.
Retrofit suitability depends on both condition and the result you want. If the frame is dry, stable, and reasonably square, an insert-style installation may preserve interior and exterior trim. If water has reached the framing, or the opening is badly distorted, covering the problem could trap damage and complicate repairs. Measure width and height at several points; older openings are rarely perfect rectangles. Record glass type, hardware condition, and any condensation between panes. A clean-looking frame can still hide trouble beneath trim, so an experienced window professional can investigate uncertain areas before you commit. There is no single stain or draft that decides the question; the evidence needs to be read together.
Choose a Retrofit Method and Set Performance Goals
A retrofit should solve a measured problem, not simply replace old glass. The U.S. Department of Energy estimates that windows account for 25–30% of residential heating and cooling energy use. Start by checking for drafts, condensation, difficult operation, and cold air near the frame. On a windy evening, a strip of tissue can reveal leaks around the sash. It is a rough check, not an energy audit.
Choose the method that fits the condition of the window. Weatherstripping and caulking can help when frames remain sound; interior storm panels or secondary glazing may suit intact historic windows. Insert replacements preserve existing frames, while full-frame replacement addresses damaged or poorly sealed openings. Each option has trade-offs. Even a new unit can underperform if installation leaves gaps.
Set goals before requesting quotes. Record existing comfort problems and, where available, energy use; then compare proposed units using National Fenestration Rating Council metrics. U-factor indicates heat transfer, while solar heat gain coefficient helps assess incoming sunlight. Lower U-factor is generally useful in cold conditions, but orientation and climate matter. The DOE’s Energy Saver guidance stresses appropriate ratings for local needs. Ask for the specified values in writing, plus details on air sealing and installation. Targets can be imperfect; real-world comfort also depends on workmanship, shading, and ventilation.
Prepare the Opening and Install the Retrofit Window
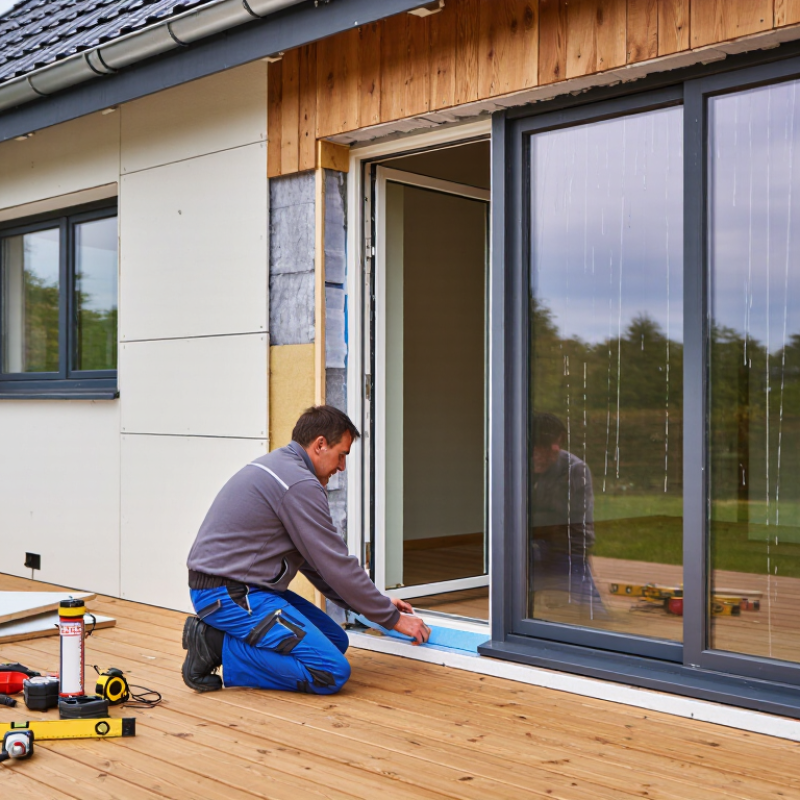
A retrofit window depends on a sound existing frame. Remove the old sash and inspect the sill, jambs, and corners for soft wood, water stains, or loose fasteners. Measure the opening in three places for both width and height; use the smallest readings. Measure twice. The U.S. Department of Energy estimates that windows account for 25–30% of residential heating and cooling energy use. That makes careful air sealing important, not cosmetic. Check that the frame is square by comparing diagonal measurements. If the frame is badly out of square or shows decay, pause and reassess; a retrofit unit cannot repair hidden damage.
Dry-fit the window before applying sealant. Set it on shims, then check level, plumb, and square while keeping the unit centered. Fasten it through the locations specified in its installation instructions, and avoid overtightening, which can bow the frame and make the sash bind. Apply low-expansion foam sparingly around the interior gap; too much can distort the jamb. Complete exterior flashing and sealant in the sequence suited to the wall assembly. Test the sash and locks before replacing trim. A slightly uneven gap may look harmless, but it can signal a poor fit. I would recheck it rather than hide it.
Seal the Installation and Verify Its Operation and Performance
A window can look neatly installed and still leak at the hidden perimeter. The gap between the frame and rough opening needs a continuous air seal, not a hard fill that distorts the frame. Use backer rod where the joint is wide, then apply a compatible sealant in a smooth, unbroken bead. Low-expansion foam can fill deeper cavities, but excess pressure may bow the jambs. Small detail. Keep exterior drainage paths and sill weep openings clear. Tie flashing into the wall’s water-control layer so rain drains outward, not toward the interior. Follow the window and sealant instructions; materials do not all bond well together.
Test the sash, locks, and screens before trim hides the joint. Open and close each sash several times. It should move evenly, latch without force, and stay in position where designed. Check for daylight, loose trim, and drafts around the perimeter on a breezy day. A smoke pencil can reveal air movement, but avoid open flames near sealants or finishes. For water checks, use a gentle spray and inspect indoors; never aim a pressure washer at the window. Record dampness, sticking, or uneven gaps, then correct the cause rather than covering it with more caulk. A perfect-looking bead proves little. Recheck after heavy rain and a temperature change; frames can shift slightly, and one inspection may miss something.
How to Retrofit Windows in 2026: Seal the Installation and Verify Its Operation and Performance
Illustrative example readings for the same window assembly, measured at 75 Pa. Lower air leakage indicates a tighter installation. After sealing, cycle the sash and repeat the test to check that operation has not compromised the seal. These sample readings are not a pass/fail limit.